


Chord Finder Upload Song: The Fastest Way to Detect Chords from Audio
If you are searching for a chord finder upload song solution, this guide is for you. Today, musicians want fast results without spending hours on manual transcription. Therefore, uploading a song to an AI chord tool is one of the easiest ways to start.
The process is simple. First, upload your audio file or paste a YouTube URL. Next, wait for analysis. Then, review the chord progression and apply it to guitar, piano, ukulele, or any harmonic instrument.
What Is a Chord Finder Upload Song Tool?
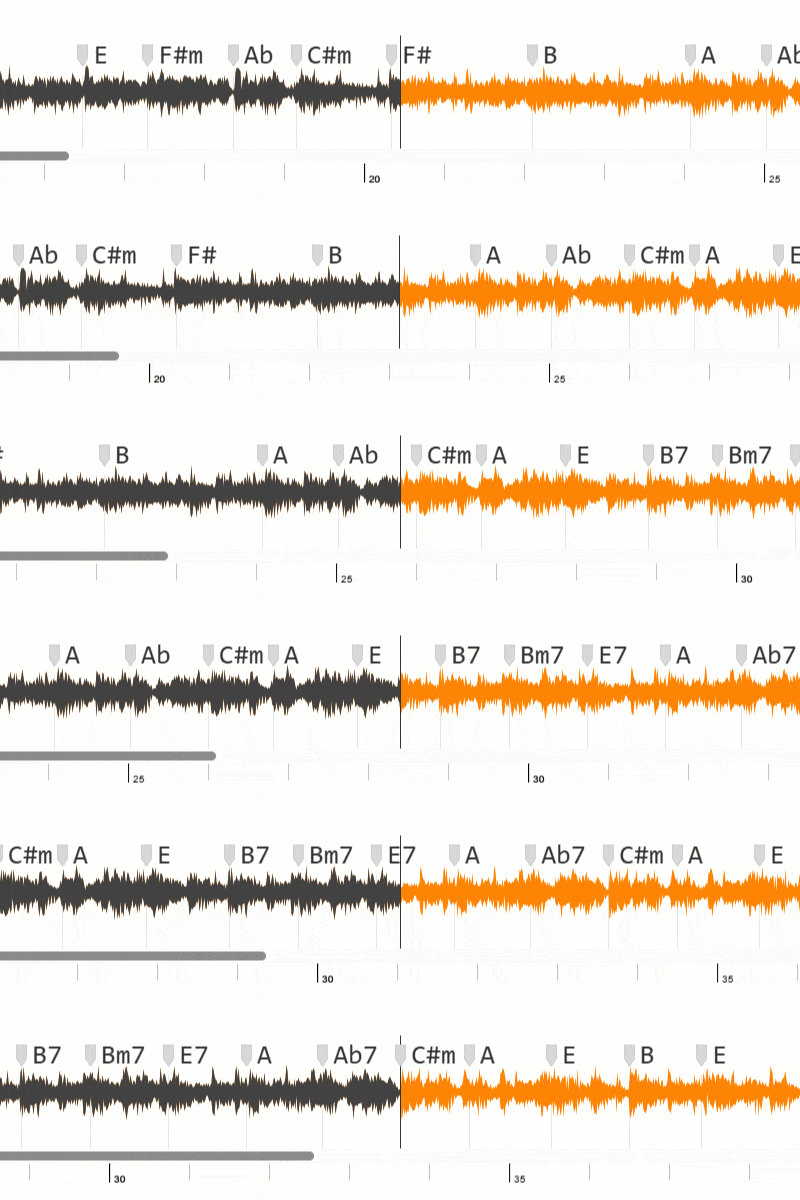
A chord finder upload song tool analyzes audio and estimates the chord progression in sequence. In practice, it listens to harmonic changes and returns a playable structure you can use for practice, study, and arrangements.
Because modern systems use machine learning, they can process many genres. As a result, users can analyze pop, rock, gospel, acoustic, and more with a similar workflow.
Why Use a Chord Finder Upload Song Workflow?
1) Save Time on Song Learning
Instead of starting from zero, you begin with a chord roadmap. Consequently, you can move from listening to playing much faster.
2) Improve Practice Quality
When harmonic direction is clear, you can focus on rhythm and technique. In addition, section-by-section practice becomes easier to organize.
3) Build Better Lessons and Covers
Teachers and creators can prepare material faster. Likewise, band members can align rehearsal parts with less confusion.
How a Chord Finder Upload Song System Works
- First, you upload a file or submit a YouTube link.
- Next, the AI engine processes frequency and harmonic information.
- Then, it estimates chords over time and organizes the progression.
- Finally, you review, test, and adapt those chords on your instrument.
So, you start with a practical base. After that, you refine details by ear for your final version.
Step-by-Step: Better Results with Chord Finder Upload Song
Step 1: Choose Clean Audio Before You Upload Song
First, use the highest-quality source available. Otherwise, clipping and background noise can reduce accuracy.
Step 2: Upload Song File or Paste Video URL
Next, send your local file or video link to the analyzer. Additionally, short test sections can help you validate output quickly.
Step 3: Wait for Chord Processing
Then, let the AI finish analysis. Usually, this takes a few seconds, although longer songs may take more time.
Step 4: Review Chords by Section
After that, check intro, verse, chorus, and bridge in order. Meanwhile, mark difficult moments for focused repetition.
Step 5: Apply Chords to Your Instrument
Finally, convert labels into playable voicings and fingerings. In other words, turn analysis into real performance.
Common Chord Finder Upload Song Mistakes
Mistake 1: Trusting Output Without Listening
AI is powerful, but it is not perfect. Therefore, always validate critical transitions by ear.
Mistake 2: Ignoring Song Key Context
If one section feels odd, check tonal center and transposition. Then, adjust your chord choices accordingly.
Mistake 3: Using One Voicing for Everything
Chord names are only the start. However, good arrangements depend on voicing selection and musical context.
Who Should Use a Chord Finder Upload Song Tool?
- First, beginners learning songs faster.
- Next, intermediate players improving harmonic understanding.
- Also, teachers creating practical lesson material.
- In addition, creators producing tutorials and covers.
- Finally, bands preparing songs under tight deadlines.
Chord Finder Upload Song Practice Routine
To start, use this quick 20-minute routine:
- Minutes 1-5: First, map song structure.
- Minutes 6-10: Next, follow the detected progression slowly.
- Minutes 11-15: Then, refine difficult chord changes.
- Minutes 16-20: Finally, play full sections in tempo.
As a result, you improve speed and confidence while keeping practice organized.
Final Thoughts
Overall, a chord finder upload song workflow is one of the fastest ways to decode music and start playing. In fact, it helps you spend less time guessing and more time making progress.
If you repeat this process consistently, your chord accuracy and musical fluency will improve week after week.