




MuseScore Chord Identifier: Practical Ways to Detect and Check Song Chords
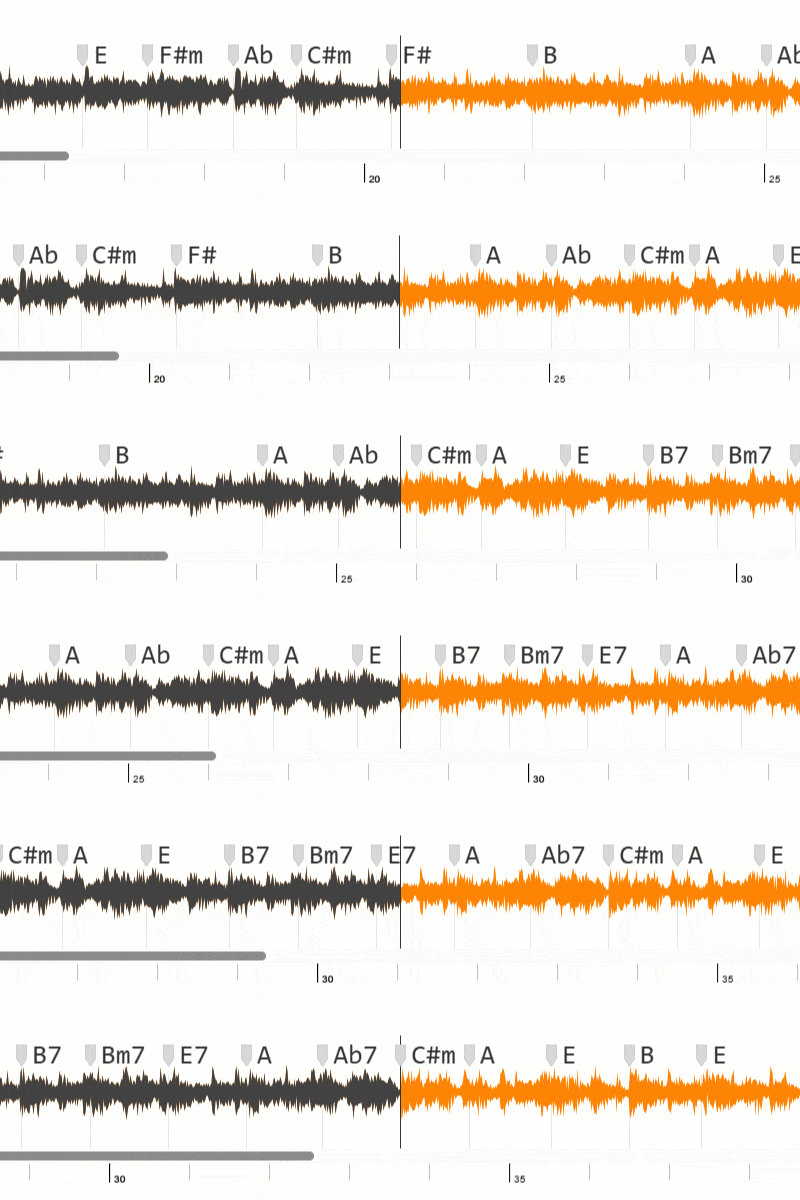
If you are researching a musescore chord identifier workflow, this guide can help. Many musicians need a fast way to verify harmony before writing or editing notation. So, the goal is simple: detect chords quickly, then confirm them with musical context.
In practice, many players combine notation tools with audio-based chord detection. First, they analyze the song audio. Next, they review the progression section by section. Then, they transfer the results into score or tab format for cleaner editing.
What People Mean by MuseScore Chord Identifier
When users search for musescore chord identifier, they usually want one of two things: automated chord hints from audio, or a faster way to validate chords before entering them in notation software.
That is why audio-first analysis is useful. It gives you a draft progression, and then you can refine spelling, inversions, and rhythm directly in your score.
Why Use Audio Analysis Before Notation Entry?
1) Faster Harmonic Drafting
Instead of checking each bar manually from scratch, you start with an estimated progression. As a result, your first draft takes less time.
2) Better Section Mapping
When verses and choruses are identified early, notation work becomes more organized. Therefore, editing is easier later.
3) More Consistent Arrangements
If your harmony is validated first, your final score is usually cleaner. In addition, performers get clearer chord guidance.
MuseScore Chord Identifier Workflow (Recommended)
- First, upload an audio file or use a YouTube link in a chord analyzer.
- Next, review detected chords by song section.
- Then, transfer the progression into your notation or tab project.
- Finally, adjust voicings, slash chords, and rhythmic placement by ear.
This approach keeps the process practical. You get speed from automation and accuracy from musicianship.
Step-by-Step Guide for a MuseScore Chord Identifier Setup
Step 1: Choose the Best Source Audio
Use a clean file whenever possible. Otherwise, low-quality audio can blur harmonic details.
Step 2: Analyze the Track
Upload the file or paste the video URL into a detection tool. Usually, processing takes only a few seconds.
Step 3: Verify Song Sections
Check intro, verse, chorus, and bridge separately. After that, confirm repeated patterns before entering notation.
Step 4: Add Chords to Your Score
Transfer the progression into your score project. Then, refine enharmonic spelling and voicings to match the style.
Common MuseScore Chord Identifier Mistakes
Mistake 1: Trusting Every Auto-Detected Chord
AI gives a strong starting point, but it is not perfect. So, confirm crucial transitions by ear.
Mistake 2: Ignoring Key Center
If chords seem odd, re-check tonal center and possible transposition. Often, one correction fixes many bars.
Mistake 3: Forgetting Performance Context
A chord label may be correct while the voicing is not ideal. Therefore, choose shapes that fit range and style.
Who Benefits Most from This MuseScore Chord Identifier Method?
- Songwriters creating lead sheets quickly.
- Teachers preparing harmony exercises.
- Guitar or piano players building practice charts.
- Arrangers converting recordings into clean notation.
Final Thoughts
Overall, a good musescore chord identifier workflow is not about replacing your ear. It is about starting faster and finishing more accurately.
If you combine audio-based chord detection with careful notation editing, you can produce reliable charts in less time and with better musical clarity.